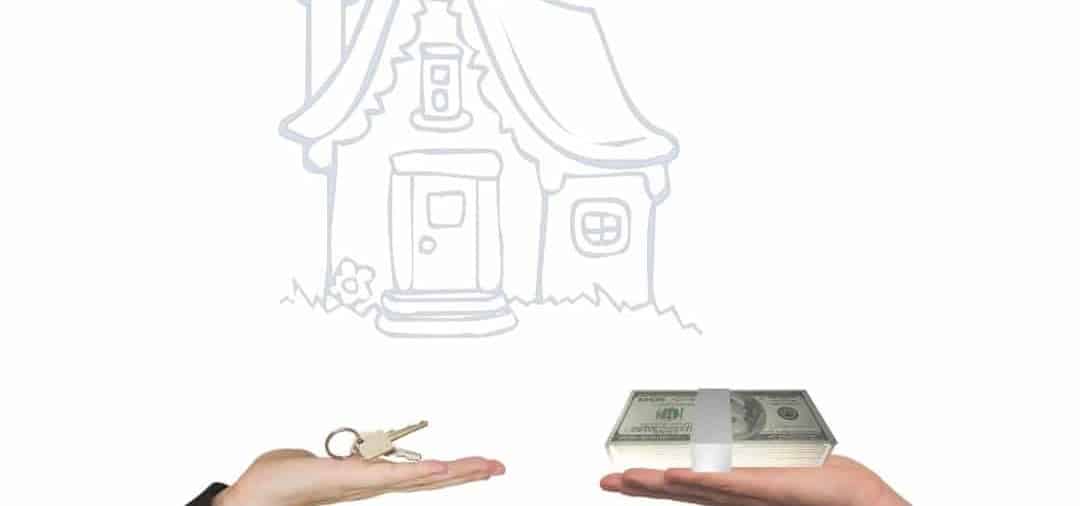
The closing process is arguably one of the most important parts of home buying. It is when ownership of the home transfers from seller to the buyer, it’s also when the money changes hands. This can be stressful, but there are ways to make it easier, like planning. By knowing and then planning out the steps that you’ll need to take during the closing process, you can be better prepared for a smooth transition! Here are the main closing process steps from start to finish. One thing we ALWAYS suggest for any first-time homebuyer is to attend our Homebuyer Education Class. Many of our partnering lenders offer closing discounts for those that have completed the class.
Gather the right people and paperwork.
Choose a settlement company or real estate attorney to act as your closing agent. Your closing agent coordinates document signing for everyone, verifies both the seller and you have met the terms for the purchase agreement, and then finally pays out all funds, transfer the title, and records the deed.
Buy homeowner’s insurance. The lenders will make you do this and bring the policy with you to the closing. The cost of the insurance varies depending on the value but is an important part of owning a home.
Get title insurance. When buying a home, you’re buying the title to the property; it gives you clear ownership and protection. Title insurance is a one-time cost, unlike homeowner’s insurance which is on-going.
Meet the loan conditions. Before closing, you will have to meet all the conditions set by the lender. Some conditions are specific to the loan but the most standard conditions are things like a clear title report, documentation of your income, an appraisal figure, and proof of homeowner’s insurance.

Start preparing to move. Once your closing has a date, start packing!
Revisit the closing disclosure. This document is important because it lays out the closing cost for you and the seller and it gives detailed information about the loan. The costs in the closing disclosure should be about the same as what was shown on the loan estimate when you applied. If you have questions or numbers don’t match, don’t hesitate to ask questions.
Do a final walk-through. This will be your final chance to look at your new home. It should be done within 24 hours prior to the closing. If the seller has not moved out or left the home in a condition that was not agreed upon, talk to your agent as you may need to reschedule your closing.
Gather any remaining documents.
The lender will ask you to bring certain documents to the closing. Some of them are the documents you started preparing for at the beginning of this process such as the homeowner’s insurance policy. Additional documents may include photo identification and a list of addresses from the 10 years.
Go to the closing. The mortgage and other documents are all signed, payments have been exchanged, and the wait is over. You’re getting the keys. Now, all you have to do it fill out the final closing paperwork at the closing!
File a homestead declaration. After the closing, you should file a homestead declaration as it will protect you from someone else making a claim on your property. It will register your home with federal and state governments. In some states this is automatic but you shouldn’t expect or assume so.
There you have it! That is the main component of a closing process from start to finish. Our lending officers here at NeighborWorks can answer any questions you may have about the closing process for our down payment assistance loan. Please note, that while this is an overview of the process, every loan process can be different and involve added steps or other things. While the closing process can be long and stressful, it doesn’t have to be when you are prepared. Planning out this process can help it be a little easier and we at NeighborWorks are happy to help you.
Author: Bailey Aines, part-time NWWVT employee.